

How to upgrade or downgrade your plan
Droppath has a selection of subscriptions to meet your business needs: Basic, Pro, or Expert plans to scale your route capacity up to 500 stops. Follow this tutorial to easily switch tiers and lock in 22% savings with an annual subscription.
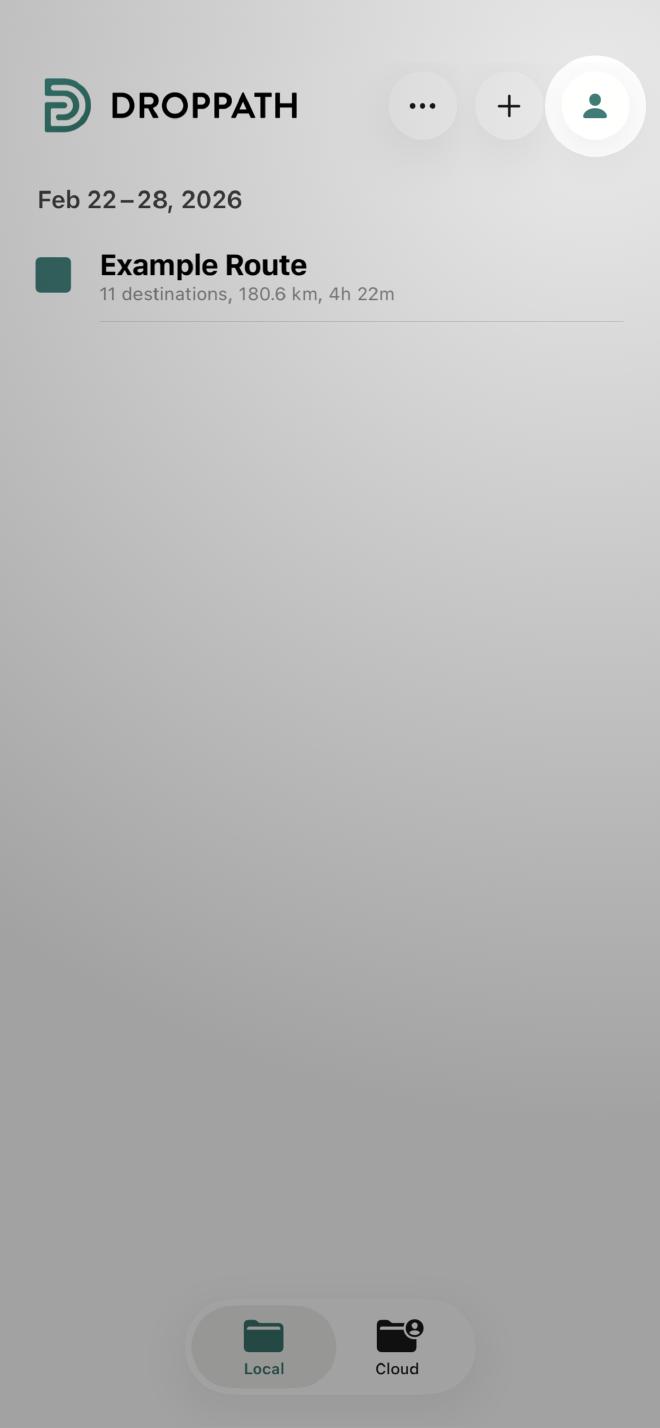
1. Access Settings #
From the main Droppath screen, tap the Account Icon (user icon) at the top right.
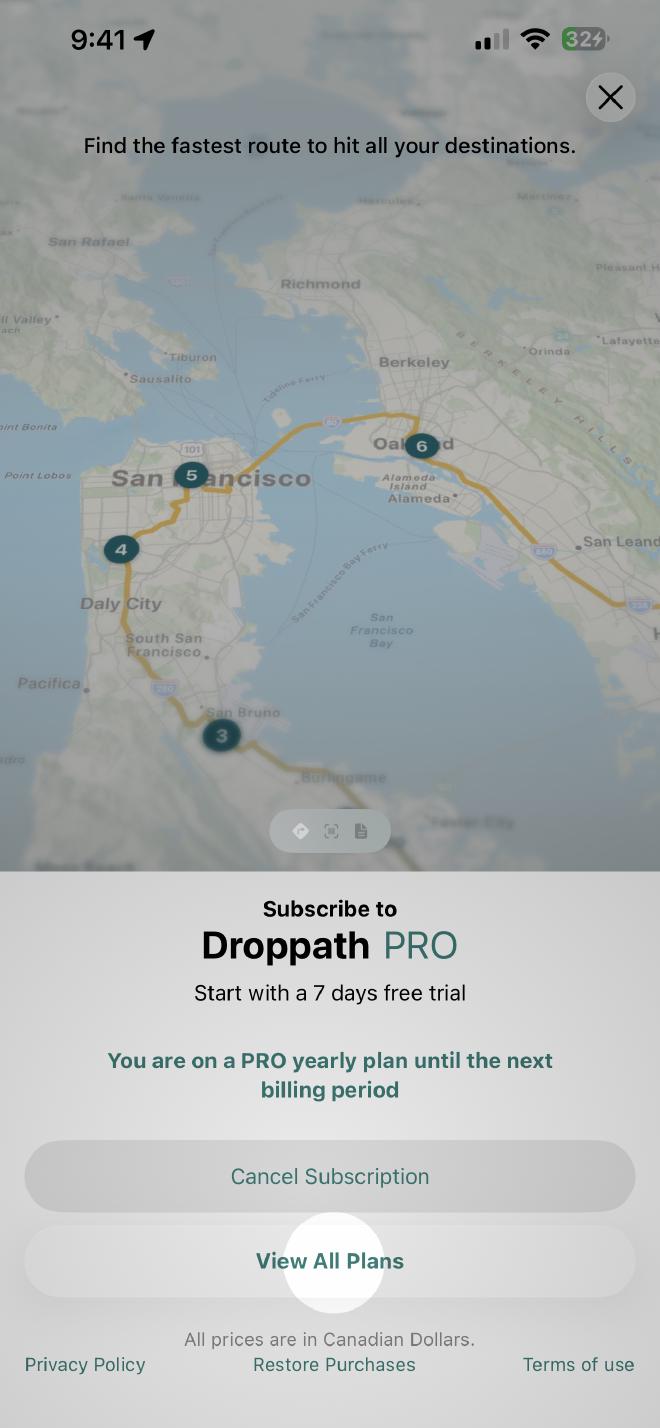
2. Prices and Plans #
Scroll down the menu options until you see Prices and Plans. Tap it to enter the subscription management area. You will see your current plan displayed. If you do not see your current plan displayed, hit Restore Purchases at the bottom of the screen. Your subscription will then be displayed.
Then select View All Plans to see the full range of available tiers.
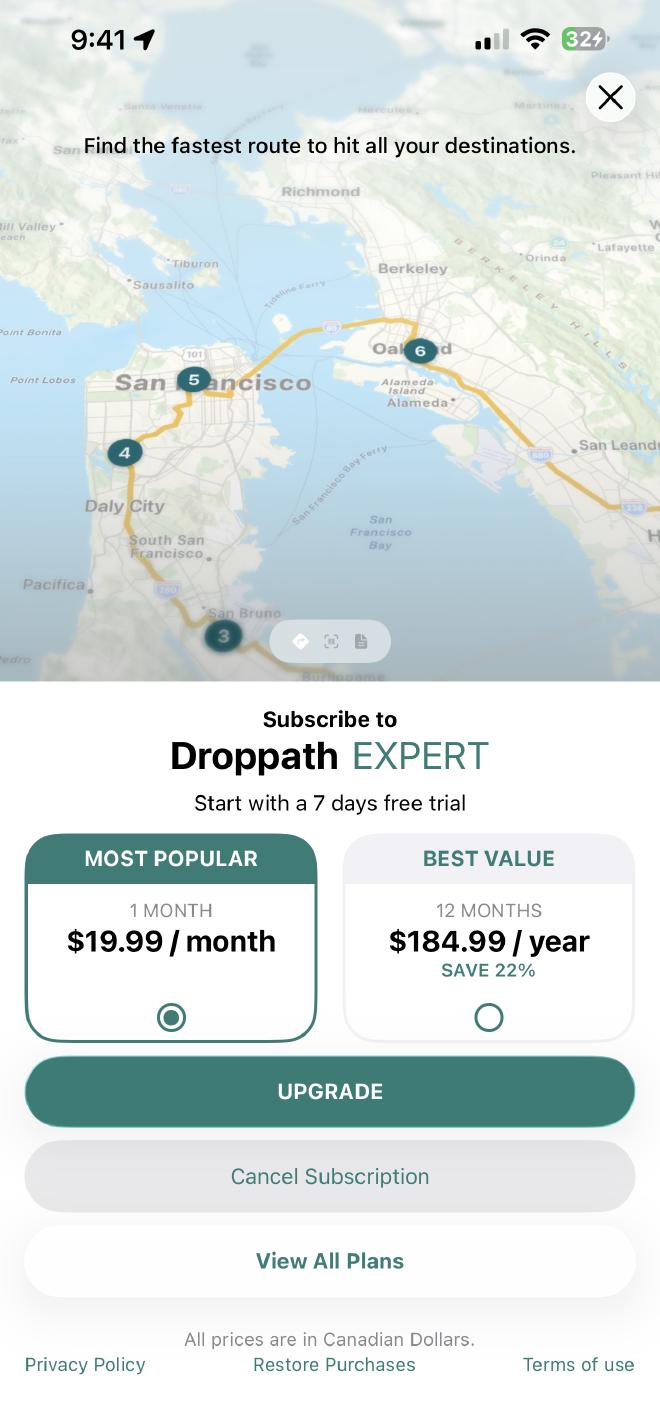
3. Select Your New Tier #
On the plans screen, you will see your current status along with other options:
To Upgrade: Select a tier higher than your current one to access more robust features.
To Downgrade: Select a lower-tier plan.

4. Choose Your Billing Cycle #
Once you’ve selected a plan, you’ll be prompted to choose your payment frequency. You generally have two choices:
- Monthly Plan: Standard flexibility with month-to-month billing.
- Yearly Plan: Best value option, typically offering a significant discount (around 22%) compared to the monthly rate.
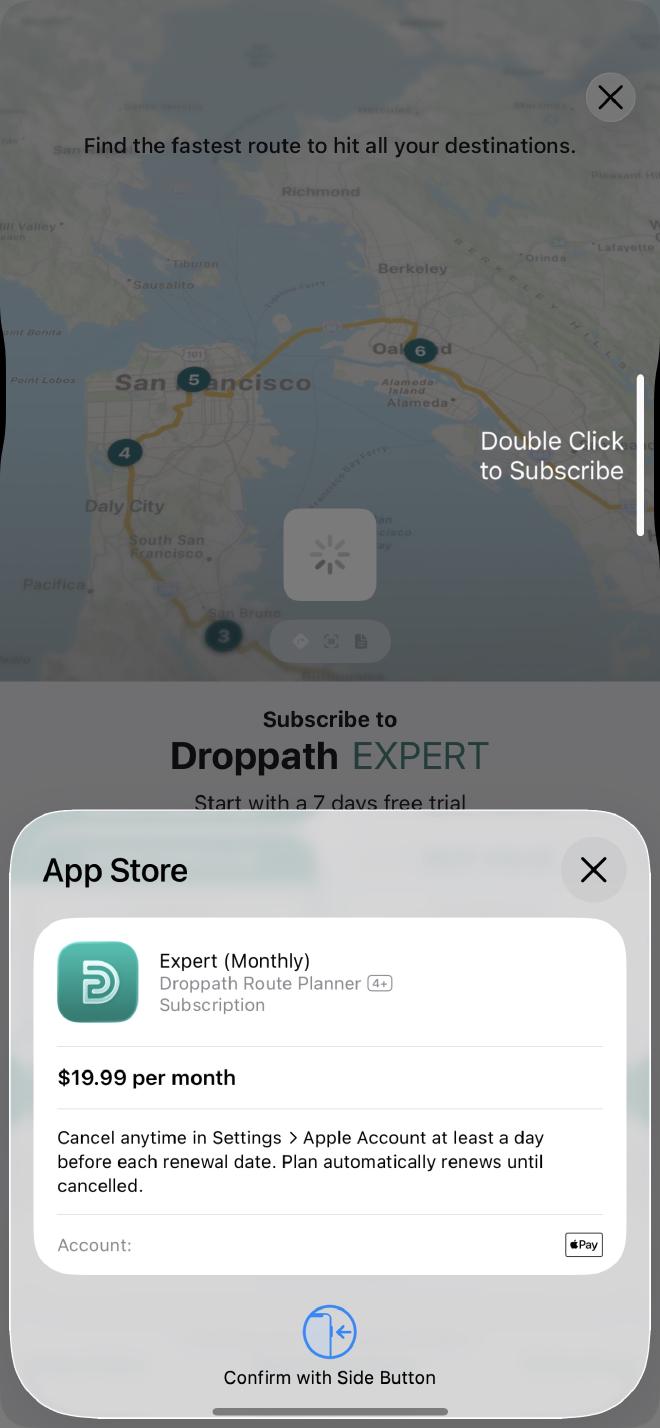
5. Confirm and Secure Purchase #
After selecting your billing cycle, tap the Upgrade (or Downgrade) button. A system prompt will appear detailing the following:
- Billing Date: You will see the specific date your paid subscription begins (one week from today).
To finalize the change, follow your device’s security prompt (such as double-clicking the side button or using FaceID/TouchID).
6. Confirmation #
Once the processing is complete, your new plan will be active immediately, and you’ll receive a confirmation that you’re all set!
 Download for iOS
 Download for Android